


 (Be sure to follow the manufacturer's instructions for using the fusible.)
By the way, that's my applique pressing sheet (shown below) that I have using for over TEN YEARS! Super durable!


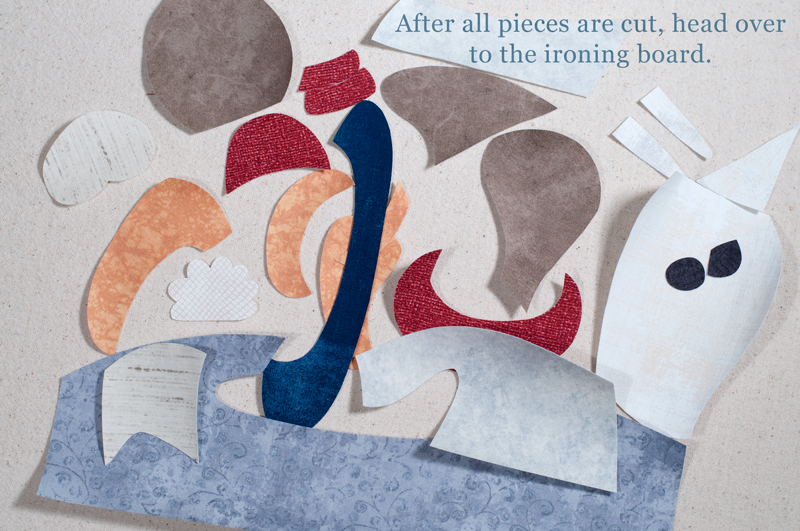
 A little note: On my VERY EARLY patterns and patternlets, I didn't necessarily label them in alphabetical order. Something I learned along the way. Just be sure to start with the pieces that would be in back, and work your way forward.

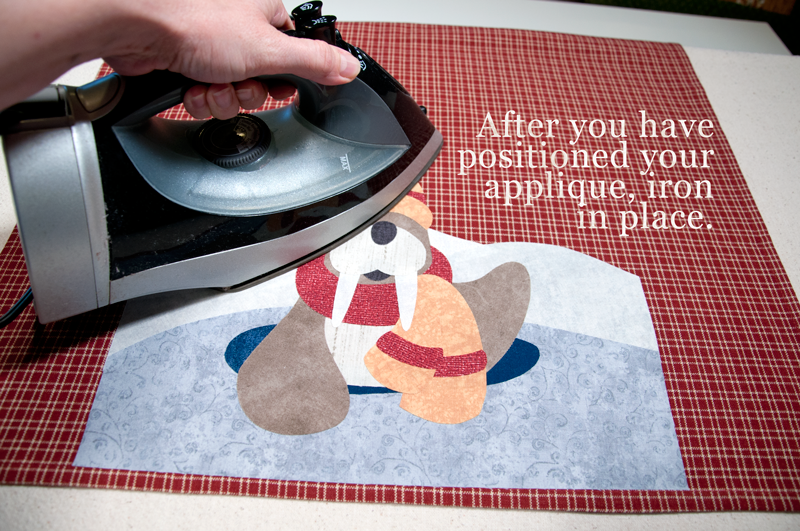
AN ADVANCED TIP, BELOW: You can see below where it would have been hard to place the nose, snout, and tusks, because the face piece (on the right below) wouldn’t allow you to see the diagram underneath. In this case, I would just slide the pressing sheet over so you can see the diagram of the face again, and assemble those pieces following the diagram. I did the same thing with the hat pieces. After those sections have cooled, peel them off and place them in position on the rest of the applique. Iron in place. There may be times when you will simply have to place pieces by looking at the diagram, but use this technique when possible.
Assemble the face elsewhere on the sheet.

After it cools, peel it off...

...and attach to the rest of the applique.

Okay, back to the basics...


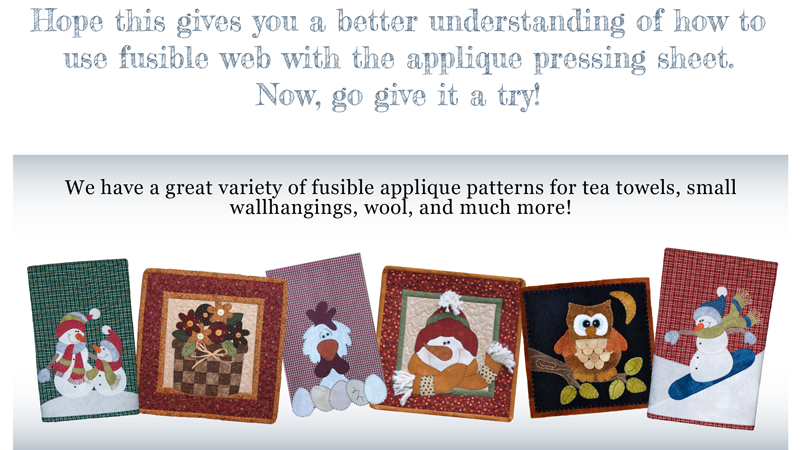
We sell the fusible web and the applique pressing sheets on our website. When you purchase the applique pressing sheet, you get a free patternlet of your choice! As I mentioned above, I have had mine for over ten years. It has seen much abuse, but it's still going strong!
CONTACT INFO:
EMAIL: INFO@THEWOODENBEAR.COMFOLLOW US ON...
 |
 |
 |
 |
"Website Design by Kelly Mueller of The Wooden Bear"